 AMC
AMC
 Chrysler
 Dana
Dana
 Ford
Ford
 GM
GM
 Isuzu
Isuzu
 Nissan
 Suzuki
 Toyota

This quick primer of tech tips is designed to be informational for less experienced installers and a refresher course for seasoned differential technicians. The focus is on time-saving tricks and advice when assembling and setting up a differential, concentrating on preparation, assembly, setting pinion depth, backlash, and more.
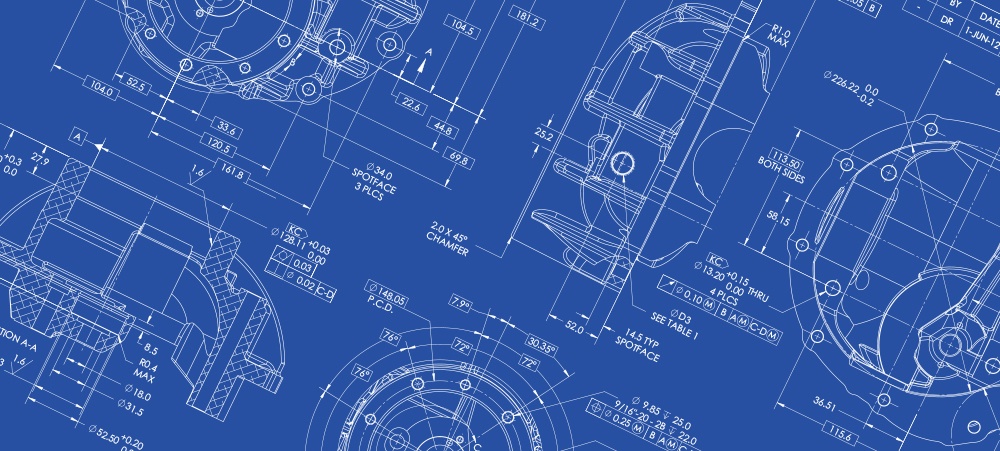
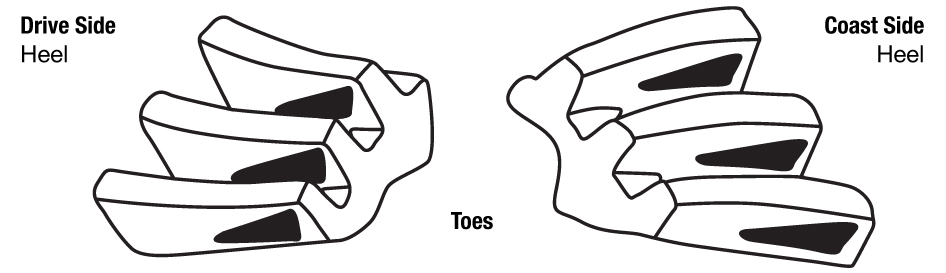
Anatomy Of A Gear Tooth
.jpg)
In order to take full advanatge of the tips and information conveyed in this article we need to get our lingo on the same page. The above schematic outlines the surfaces of a typical gear tooth and how they are generally referred to.
1. Take The Right Approach
The order in which adjustments are made during differential assembly and setup are:
2. Pinion Bearing Preload
3. Backlash
4. Carrier Bearing Preload
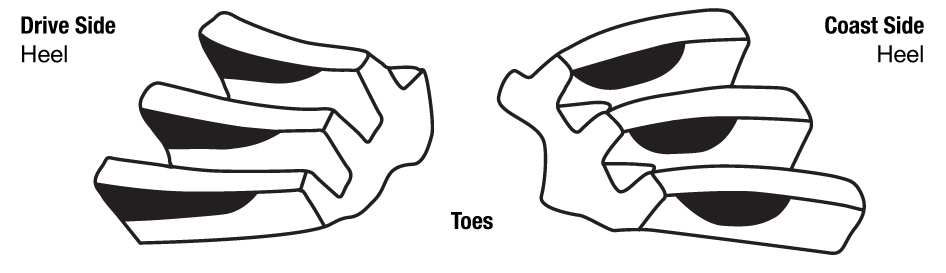
2. Pattern Adjustment Cause & Effect
Use shims to move the ring gear closer to the pinion to decrease backlash.
Use shims to move the ring gear farther from the pinion gear to increase backlash.
Use shims to move the pinion closer to the ring gear to move the drive the pattern deeper on the tooth (flank contact) and slightly toward the toe. The coast pattern will move deeper on the tooth and slightly toward the heel.
Use shims to move the pinion farther away from the ring gear to move the drive pattern toward the top of the tooth (face) and slightly toward the heel. The coast pattern will move toward the top of the tooth and slightly toward the toe.
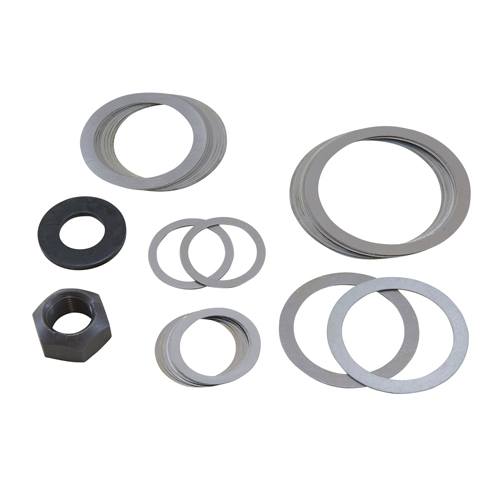
3. Remember Your Shim Combination
When it comes to shim selection use the same shim combinations from the previous assembly as a baseline when reassembling the differential.
4. Seal Surface Preparation
It is wise to polish all seal surfaces with fine-grit emery cloth or sandpaper then wipe all surfaces with a clean rag dampened with either fresh oil or solvent to remove any metal particles.
5. The Importance Of Using Assembly Oil
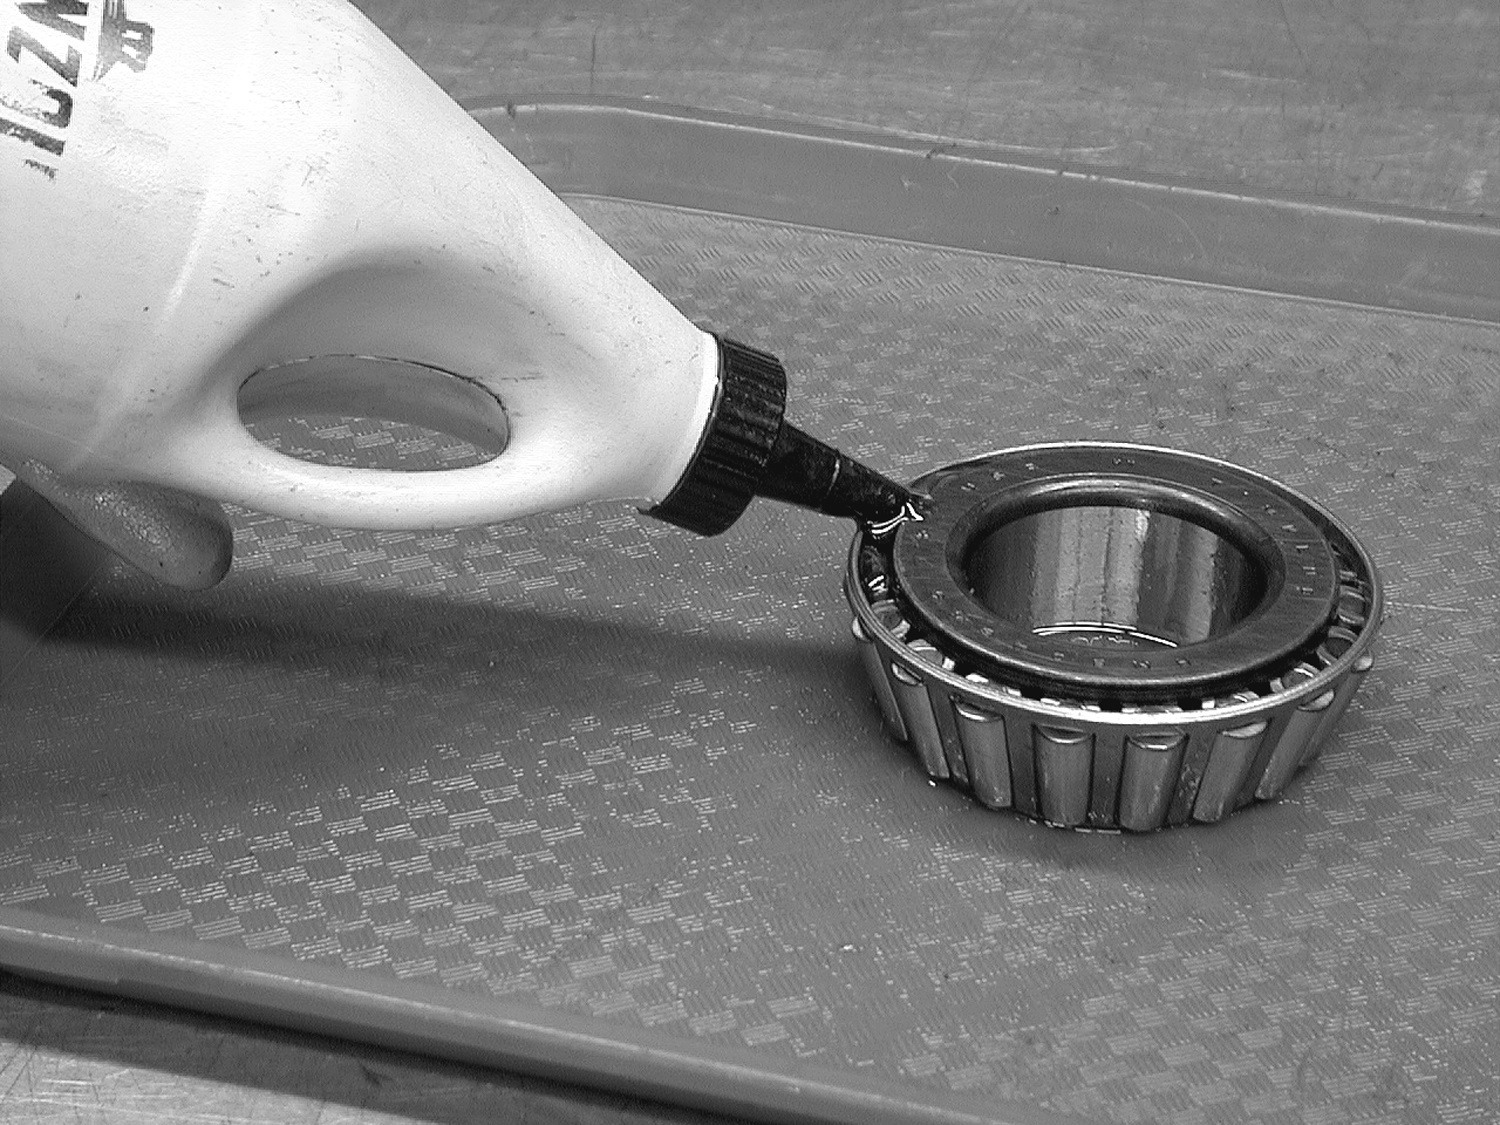 When assembling internal components, coat all bearings and seal surfaces with fresh gear oil. Never use bearing grease on pinion or carrier bearings because it will negatively influence assembly measurements. Coat all seals with grease, preferably white lithium grease. Use clean gear oil if white grease is not available.
6. Trial Pinion Assembly
Mock install the pinion with its original shims yet without a crush sleeve to establish an approximate pinion depth. When installing the pinion, tighten the nut slowly until it reaches preload specifications.
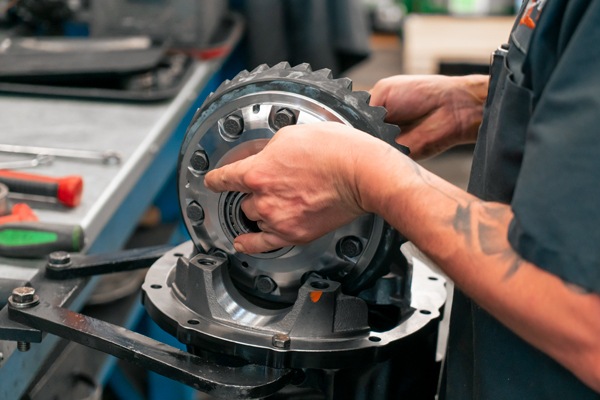
7. Initial Carrier Assembly
Install the assembled gear carrier with its ring gear into the housing. It is easier to remove and replace the carrier during trial assemblies if the carrier bearing preload is fairly snug instead of tight.
8. Initial Backlash Adjusting Tip
Backlash refers to the amount the ring gear can rotate forward and backward when the pinion gear cannot move. The initial backlash setting establishes the basis for all future adjustments.
To start, fasten a dial indicator to the gear case or axle housing on the same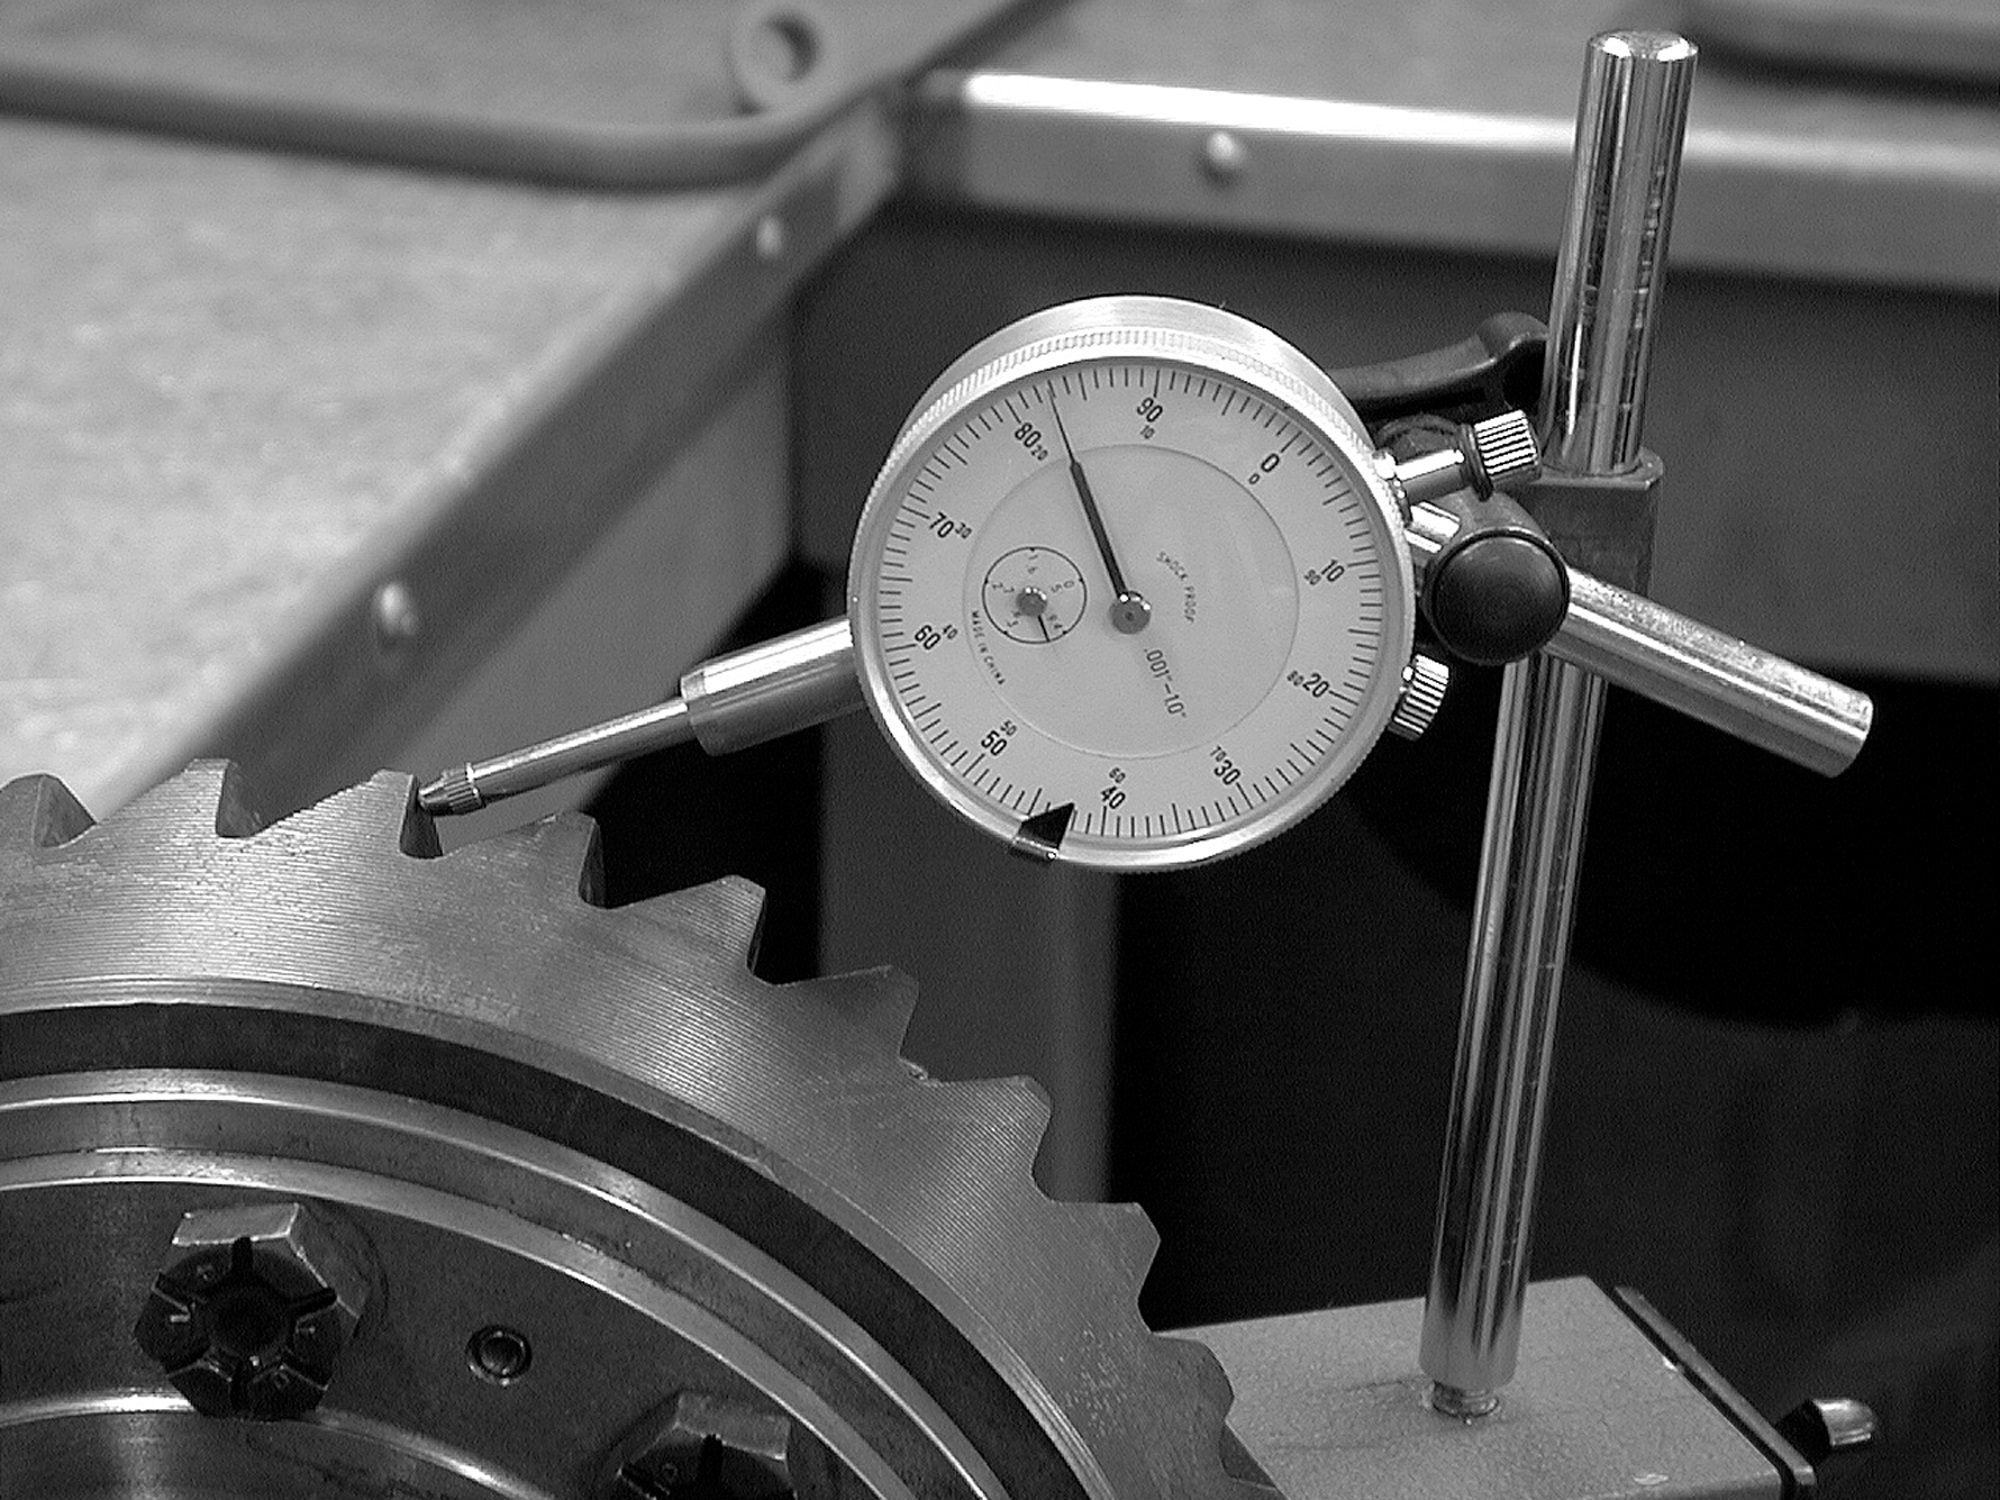 plane as the ring gear so its contact point touches a tooth at the outermost diameter of the ring gear in a 90-degree relationship to the tooth face. The indicator should measure the amount the ring gear moves when rotated. To measure backlash, prevent the pinion gear from rotating and rotate the ring gear back and forth. The amount the ring gear can move (the amount of play) determines the amount of backlash. When changing the backlash bear in mind that the backlash setting changes about 0.007” for each 0.010” that the carrier moves.
-
Move the carrier 0.010” toward the pinion to decrease the backlash by 0.007”.
-
Move the carrier 0.010” away from the pinion to increase the backlash by 0.007”.
-
This gear pattern indicates the pinion is too close to the ring gear centerline. Use shims to position pinion away from centerline.
This gear pattern depicts a pinion that is too far way from the ring gear centerline. Use shims to position pinion closer to the centerline.

This is the proper or desirable pattern. Note how the pattern is centered on the tooth from face to flank. There should be some clearance between the pattern and the top of the tooth (face) and between the pattern and the bottom of the tooth (flank). Learn more about ring gear patterns in our “How The Create & Read Ring Gear Patterns” article.
9. Make Large Pinion Depth Adjustments First
When changing pinion depth, make large changes until the pattern is close to ideal. Consider 0.005” to 0.015” a large change and 0.002” to 0.004” a small change. Intentionally, make adjustments that move the pinion too far at first. If the pinion moves too far and the pattern changes from one extreme to the other, the correct pattern lies somewhere between the two extremes. Once you home in on the correct pinion depth, make smaller changes until the pattern centers between the face and the flank of the ring gear teeth. Once the backlash and pinion depth meet tolerances, remove the carrier and establish the final pinion bearing preload.
10. How To Fine Tune Backlash
If the preload is close and the backlash is too loose, tighten the left adjuster a notch or two until the backlash is correct and the preload is sufficient. If the preload is close and the backlash is too tight, tighten the right adjuster until the backlash is correct and the preload is sufficient. Note: ensure that the last adjustment made to the left adjuster tightens it. Doing so will eliminate the possibility of a space between the adjuster and the bearing race.
11. Shimming Outside Shim Design Carriers
This design uses shims between the carrier bearing races and the housing. Initially, set the backlash with very little carrier bearing preload. After setting the backlash, add equal amounts of shims to both sides of the carrier to set the carrier bearing preload as tight as possible without damaging the shims (carrier bearings in this axle design hardly ever fail due to excessive carrier bearing preload).
- If the preload is close and the backlash is loose, add shims to the left side. This increases the carrier bearing preload and tightens the backlash at the same time.
- If the preload is close and the backlash is too tight, add shims to the right side. This increases both the carrier bearing preload and the backlash at the same time.
12. Shimming Inside Shim Design Carriers
This design uses shims between the carrier bearing and the case. Initially set the backlash tight and the preload light, as it will make carrier removal and installation easier. After setting the backlash, add equal amounts of shims to both sides until the correct preload is achieved.
- If the preload is close and the backlash is loose, add shims to the left side. This increases the carrier bearing preload and tightens the backlash at the same time.
- If the preload is close and the backlash is too tight, add shims to the right side. This increases the carrier bearing preload and the backlash at the same time.